Hey golf lovers! Imagine stepping into your own golf simulator at home—rain or shine, day or night—without breaking the bank. In 2025, building a budget golf simulator is more doable than ever, thanks to affordable gear and clever DIY tricks. Whether you’re a college student itching to practice between classes or a weekend warrior sharpening your swing, this guide has you covered. Let’s walk through how to create your dream setup on a cheap budget, step by step. Ready to tee off? Let’s go!
Why Build a Budget Golf Simulator at Home?
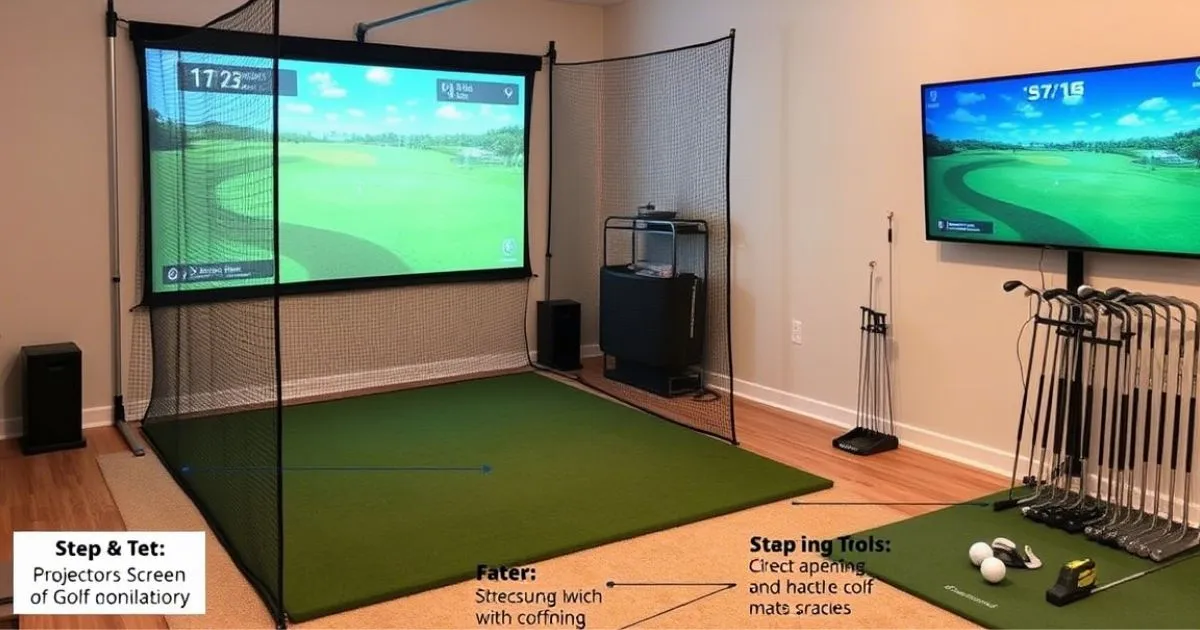
More and more people have been drawn to the idea of owning a golf simulator in recent years, and it’s easy to see why. Having one at home comes with a bunch of perks that make it worth the cost.
Year-Round Practice Regardless of Weather
Living in areas with seasonal weather limitations can severely restrict your ability to maintain your golf skills. Rain, snow, or extreme heat no longer need to interfere with your practice schedule when you have an indoor option available whenever you want it.
“I built my budget simulator last winter,” says Mike Jenkins, an amateur golfer from Minnesota. “Being able to practice through our six-month winter completely transformed my game. By spring, I was the only one in my friend group who hadn’t lost my touch.”
Convenience Factor
Even for those living in golf-friendly climates, the time commitment of traveling to a course or driving range can be prohibitive. A home simulator eliminates commute time, allowing you to fit in quick practice sessions when you have just 15-30 minutes to spare.
Cost Savings Over Time
While the initial setup requires an investment, compare the long-term costs to regular green fees, driving range visits, and commercial simulator sessions. Most budget home simulators pay for themselves within 1-2 years of regular use.
Personalized Feedback and Improvement
Today’s affordable launch monitors and software provide detailed metrics and feedback that were once only available to professionals or at high-end facilities. This data-driven approach helps you improve more efficiently than simply hitting balls at a range without meaningful feedback.
Entertainment Value
Beyond practice, a golf simulator becomes a source of entertainment for family and friends. Many budget-friendly software options include virtual courses and games that even non-golfers can enjoy.
Five Essential Gear for an Affordable Golf Simulator
Creating a functional golf simulator on a budget requires focusing on the essential components while finding cost-effective alternatives to premium options. Here’s what you’ll need:
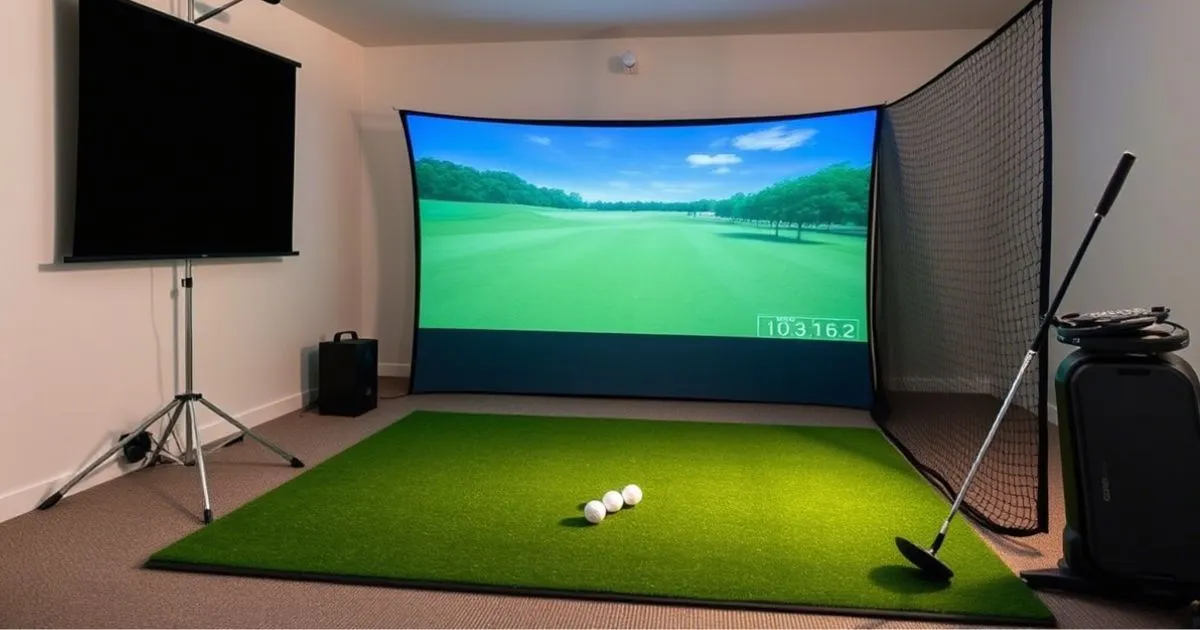
1. Launch Monitor: The Brain of Your Simulator
The launch monitor is arguably the most critical component as it tracks your swing and ball flight data. In 2025, several affordable options deliver impressive accuracy:
Budget Favorites:
- Garmin Approach R10 ($499-599): This compact device continues to offer exceptional value with accurate club and ball data tracking, including club path metrics that were once only available on devices costing thousands more.
- Rapsodo MLM2 ($599-699): The updated Mobile Launch Monitor delivers excellent ball flight data and video recording capabilities when paired with your smartphone or tablet.
- FlightScope Mevo ($499): This ultraportable option remains a solid choice for basic metrics including carry distance, club head speed, and ball speed.
“The technology gap between budget and premium launch monitors has narrowed significantly,” explains golf tech reviewer Sarah Collins. “For most recreational golfers, these sub-$700 options provide all the data points needed to meaningfully improve your game.”
2. Impact Screen and Projector: The Visual Component
While not strictly necessary (you can use a net instead), an impact screen and projector create a more immersive experience:
Budget-Friendly Approach:
- DIY Impact Screen: Crafting your own using materials like blackout cloth, carpet padding, and PVC piping can cost $100-200 instead of $500+ for commercial options.
- Refurbished Projectors: Look for business-class projectors with 1080p resolution and 3000+ lumens, often available refurbished for $300-400.
- Alternative: TV Setup: For even tighter budgets, a large TV mounted securely with protective covering can work with certain software packages instead of a projector setup.
3. Hitting Mat: Protecting Your Joints and Clubs
A quality hitting mat prevents injury and simulates realistic turf conditions:
Affordable Options:
- Country Club Elite Mat Strips ($200-300): You can purchase strips of this premium material for less than a full mat.
- SIGPRO Foam Squares ($150-250): These connecting squares provide good feedback without the jarring impact of cheaper mats.
- Used Commercial Mats: Golf facilities often sell their used mats at steep discounts when replacing inventory.
4. Golf Net: For Safety and Ball Containment
If not using an impact screen, or as added protection behind one:
Budget Solutions:
- GoSports Golf Net ($100-150): These portable nets offer good durability at entry-level prices.
- DIY Net Setups: Using heavy-duty netting material and PVC or EMT conduit framing can create a custom solution for under $100.
5. Software: Bringing Your Simulator to Life
The software is what transforms your physical components into an interactive experience:
Cost-Effective Software:
- E6 Connect Basic ($300/year or $10/month): Offers several free courses and basic practice features.
- GSPro ($250 one-time fee): This simulator software has gained popularity for its realistic physics and growing course library.
- Free Options: Some launch monitors include basic software at no additional cost.
Cost-Saving Tips for DIY Golf Simulator Builds
Building your simulator on a budget requires some strategic thinking. Here are proven approaches to maximize value while minimizing costs:
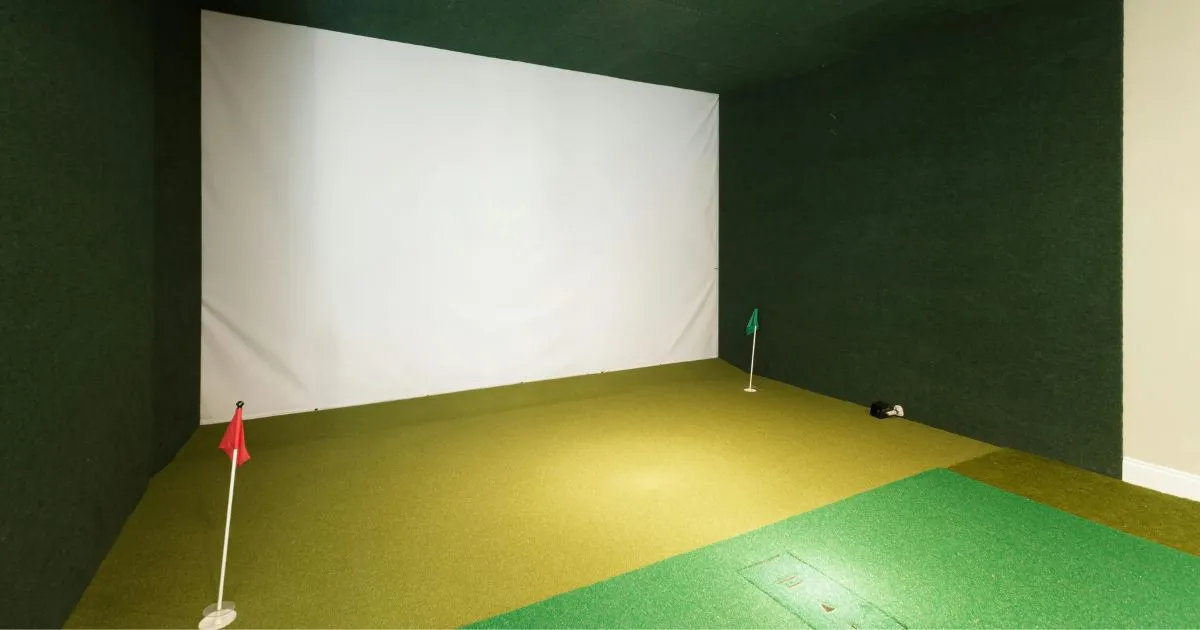
Start With the Essentials and Upgrade Later
Instead of trying to build the perfect simulator all at once, consider a phased approach:
- Phase 1: Launch monitor + net + basic mat ($800-1,000)
- Phase 2: Add impact screen and projector ($500-700)
- Phase 3: Upgrade software and environment ($300-500)
This approach gets you practicing sooner while spreading costs over time.
Repurpose Existing Spaces
Rather than building a dedicated room, look for multi-use opportunities:
- Garage Spaces: Use ceiling-mounted retractable systems that allow you to convert your garage temporarily.
- Basement Areas: Often provide sufficient height and can be partitioned when needed.
- Outdoor Covered Patios: In suitable climates, a covered outdoor area with temporary darkening solutions can work.
“My best budget tip is to use existing spaces cleverly,” recommends home simulator enthusiast Tom Rivera. “I installed a retractable screen and netting system in my garage that takes just 5 minutes to set up or put away. Total cost was under $1,500 including the launch monitor.”
DIY Construction for Enclosures and Frames
Building your own enclosure system can save hundreds:
- PVC Framing: Lightweight, easy to work with, and inexpensive.
- EMT Conduit: More durable than PVC and still affordable.
- Repurposed Materials: Check local building material reuse centers for discounted lumber and hardware.
Shop Used and Refurbished Equipment
The golf simulator market has matured, creating a healthy secondary market:
- Facebook Marketplace and Golf Forums: Often feature complete or partial simulator setups from upgraders.
- Manufacturer Refurbished Units: Many companies offer certified refurbished launch monitors with warranties at 20-30% discounts.
- Demo Models: Retailers sometimes sell floor models at significant discounts.
Leverage Seasonal Sales and Bundles
Timing your purchases can yield substantial savings:
- Off-Season Purchasing: Winter often brings discounts on previous-year models.
- Bundle Deals: Some retailers offer packages combining launch monitors with software subscriptions.
- Black Friday and Cyber Monday: The best annual deals on golf tech typically appear during these sales events.
Comparing Budget Launch Monitors for 2025
The launch monitor is typically the most significant investment in your budget simulator. Here’s how the top affordable options compare in 2025:
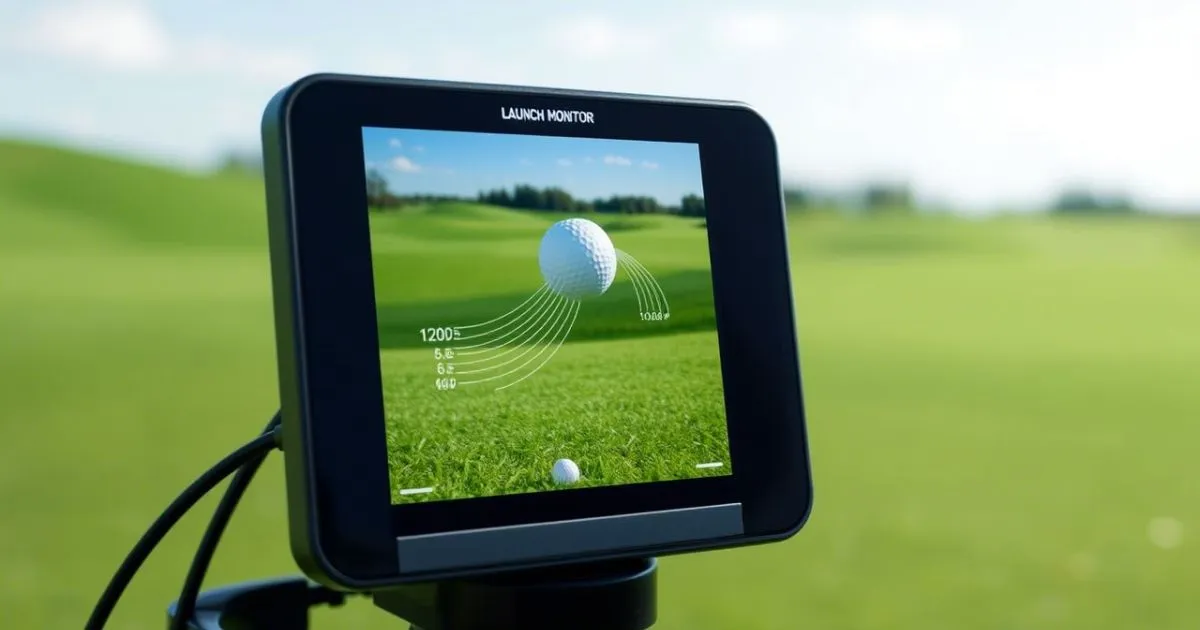
| Launch Monitor | Price Range | Key Strengths | Limitations | Best For |
|---|---|---|---|---|
| Garmin Approach R10 | $499-599 | Club path metrics, portable, radar-based, good battery life | Requires specific setup space, occasional misreads on extreme shots | All-around use, golfers wanting club path data |
| Rapsodo MLM2 | $599-699 | Shot visualization, club recognition, video playback, intuitive app | Requires smartphone/tablet, indoor range limitations | Visual learners, swing video analysis |
| FlightScope Mevo | $499 | Ultra-compact, essential metrics, works indoors/outdoors | Limited club data, fewer metrics than competitors | Portability, basic practice, beginners |
| SkyTrak Refurbished | $1,000-1,200 | Comprehensive metrics, simulation-ready, established ecosystem | Higher price point, chipping limitations | Serious golfers, simulation enthusiasts |
| Bushnell Launch Pro Base | $799-999 | Photometric accuracy, no subscription needed for basic use | Higher subscription cost for advanced features | Accuracy-focused users, putting & short game |
Key Factors When Choosing a Budget Launch Monitor
When evaluating these options for your setup, consider:
Space Requirements Different launch monitors have varying space needs. Radar-based units like the Garmin R10 require several feet behind the hitting area, while camera-based systems need precise positioning relative to the ball.
Indoor vs. Outdoor Use Some budget units perform better outdoors (radar systems) while others excel indoors (photometric systems). Consider where you’ll primarily use your simulator.
Software Compatibility Verify which simulation software packages work with your chosen launch monitor. Some require additional subscription costs for full functionality.
Smartphone Integration Many budget options leverage your smartphone or tablet for processing and display, potentially saving you from needing a dedicated computer.
Metrics That Matter For most improvement-focused golfers, prioritize accuracy on these key metrics:
- Ball speed
- Launch angle
- Club head speed
- Spin rate (at least backspin)
- Carry distance
“The affordable launch monitor market has been revolutionized by radar technology improvements,” notes golf tech expert James Chen. “Units that would have cost $2,000+ just a few years ago are now available under $600, bringing professional-level feedback to everyday golfers.”
Low-Cost Mats and Nets for Golf Practice
After your launch monitor, the physical hitting surface and containment system are your next priorities. Here’s how to make smart choices:
Hitting Mat Considerations
A poor-quality mat can lead to wrist and elbow injuries while also creating unrealistic feedback. Budget-conscious options that don’t compromise safety include:
Entry-Level Quality Mats ($100-200)
- Callaway FT Launch Zone ($150): Offers decent durability and feedback at an entry-level price.
- GoSports Turf Mat ($100): Basic but functional option for beginners.
Mid-Range Value Mats ($200-350)
- SIGPRO Foam Tiles ($250): Modular design and better shock absorption than solid mats.
- Fiberbuilt Flight Deck 12″×24″ ($300): Same hitting strip material as premium mats in a smaller footprint.
DIY Alternatives
- Carpet-Over-Foam Setup: For approximately $75, create a basic setup using outdoor carpet over high-density foam.
- Used Driving Range Mats: Often available for $50-100 through local golf facilities.
“Don’t skimp entirely on your mat,” warns physical therapist Dr. Lisa Torres, who specializes in golf injuries. “Many budget simulator builders end up with elbow or wrist issues from using mats that don’t properly absorb shock. It’s worth investing in something that won’t hurt you.”
Nets and Containment Systems
For containing those drives without breaking windows:
Commercial Budget Nets
- RULZIZO Golf Net ($80-120): Portable, easy setup, sufficient for most home uses.
- Spornia SPG-7 ($200-250): More durable with side barriers for protection.
Custom Solutions
- Impact Netting by the Yard: Purchase high-density netting material ($2-4/sq ft) and create a custom-sized solution.
- PVC Frame with Netting: Complete DIY setups can be built for under $100 using PVC pipe and appropriate netting.
Protection Additions
- Side Barrier Netting: Essential for preventing errant shots from damaging walls or fixtures.
- Floor Protection: Consider foam interlocking tiles ($20-40) to protect flooring and provide stance stability.
Free and Cheap Software for Golf Simulators
While premium simulator software packages can cost $1,000+, several affordable options deliver excellent experiences:
Free Software Options
Launch Monitor Native Apps Most budget launch monitors include basic software functionality at no additional cost:
- Garmin Golf App: Includes basic practice features and limited virtual courses.
- Rapsodo App: Offers shot tracking, video recording, and basic virtual range.
Free Simulator Software
- GSPro Free Version: Limited but functional version of the popular simulator software.
- OptiShot Golf: Basic version often bundled with hardware purchases.
Affordable Paid Software
Annual Subscription Models
- E6 Connect Basic ($300/year): Several included courses with reasonable physics.
- The Golf Club 2019 ($900 one-time): Though higher initial cost, no recurring fees.
Creative Alternatives
- Mobile Apps with Launch Monitor Integration: Several apps under $50 connect with budget launch monitors.
- Custom Practice Software: Some community-developed applications cost $50-100 with lifetime updates.
“Software is where many budget builders compromise, but there are hidden gems,” says simulator enthusiast Chris Patel. “I use the GSPro base package which costs just $250 once, and community members are constantly adding new courses. The experience rivals systems costing ten times as much.”
Making the Software Decision
Consider these factors when choosing simulator software:
- Compatibility: Ensure it works with your specific launch monitor.
- Course Selection: How many and which courses are included.
- Practice Features: Look for driving range modes, skills challenges, and data tracking.
- Multiplayer Options: For social play and competitions.
- Update Frequency: Active development suggests longevity and improvements.
Space Planning for Golf Budget Simulators
Creating an effective simulator in limited space requires careful planning:

Minimum Space Requirements
For a functional budget simulator, aim for:
- Width: 10 feet minimum (12+ feet ideal)
- Depth: 12 feet minimum (15+ feet ideal)
- Height: 8.5 feet minimum (9+ feet ideal)
However, creative solutions exist for smaller spaces:
Limited Width Solutions
- Left-handed golfers can set up to swing from the opposite direction when needed
- Adjustable mats that can be positioned for different shot types
Depth Constraints
- Short-throw projectors reduce required depth
- Condensed netting systems designed for tight spaces
Height Limitations
- Low-ceiling swing adaptations (though not ideal for driver practice)
- Floor-recessed hitting areas to gain a few crucial inches
Dual-Purpose Room Setups
For those without dedicated space, consider:
- Retractable ceiling systems: Install your screen and netting on ceiling tracks
- Fold-away frames: Collapsible structures that store against walls
- Garage conversion kits: Temporary setups that allow normal parking when not in use
“My garage simulator packs away completely in under 10 minutes,” explains budget builder Jennifer Kim. “I use a ceiling-mounted projector, retractable screen, and fold-up mat. The whole system cost about $1,800 and doesn’t interfere with parking our cars.”
DIY Build vs. Budget Kits: Which Approach Saves More?
When planning your budget simulator, you’ll face the decision between fully DIY or purchasing pre-configured budget kits:
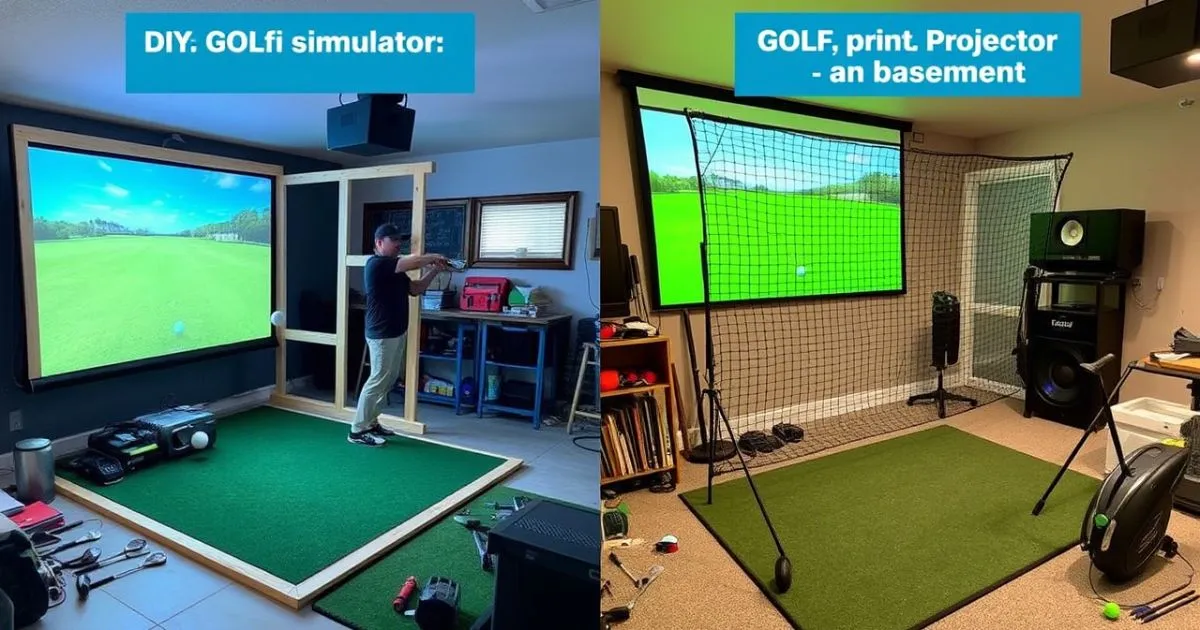
The Full DIY Approach
Pros:
- Maximum cost savings (potentially 30-40% less than kits)
- Customization for your specific space
- Ability to upgrade individual components over time
Cons:
- Requires research and technical knowledge
- More time-intensive to source and assemble
- Potential compatibility issues between components
Budget Simulator Kits
Several companies now offer entry-level simulator packages:
Popular Budget Kits for 2025:
- SkyTrak SIG12 Package ($3,000-4,000): Includes refurbished SkyTrak, screen, and basic structure
- Garmin Approach R10 Bundle ($1,500-2,500): Launch monitor with compatible screen and software
- OptiShot Complete Package ($1,000-1,500): Entry-level option with more limited accuracy
Pros:
- Single purchase with guaranteed compatibility
- Technical support for the entire system
- Often includes basic software
Cons:
- Less customization
- Higher overall cost than sourcing components individually
- Potential quality compromises in some included components
“I researched both routes extensively,” recalls Ryan Jefferson, who built his simulator last year. “The DIY approach saved me about $800 compared to the closest kit, but it took about three weeks of evening work to get everything set up correctly. For someone less technically inclined, the kit would be worth the premium.”
Lighting and Environment for Budget Simulators
Creating the right environment dramatically impacts your simulator experience without necessarily requiring big expenses:
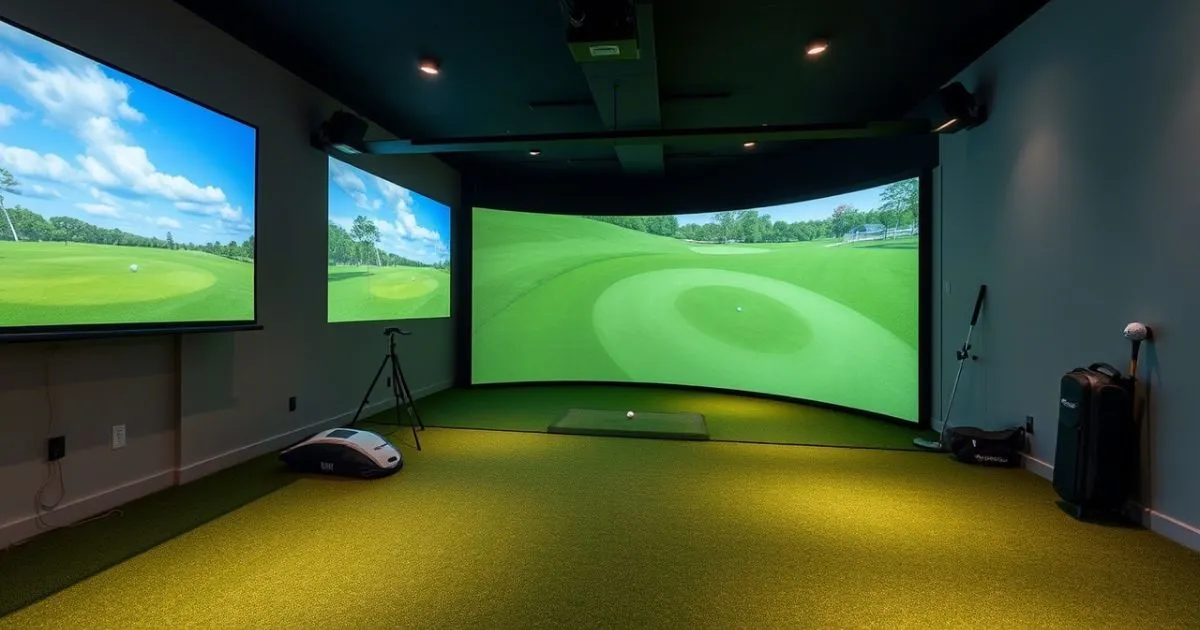
Optimal Lighting Solutions
Proper lighting balances visibility with projector performance:
- Recessed Dimmable LED Lighting: Adjustable brightness for different uses
- Bias Lighting: LED strips behind the screen or monitor reduce eye strain
- Zone Control: Separate switches for hitting area vs. screen area
Budget approach: Smart bulbs in existing fixtures ($20-40 each) provide adjustable lighting without rewiring.
Sound Considerations
Audio enhances immersion significantly:
- Basic Soundbar ($100-200): Vast improvement over TV or projector speakers
- Bluetooth Speakers: Affordable wireless options for flexible placement
- Computer Audio: For the tightest budgets, a quality headset works well
Room Treatments
Improve both aesthetics and functionality:
- Acoustic Foam Panels ($50-100): Reduce echo and noise transfer
- Golf-Themed Décor: Inexpensive prints and memorabilia create atmosphere
- Rubber Flooring: Interlocking gym-style tiles provide stance stability
“The environment makes a huge difference in how premium your budget simulator feels,” suggests home golf enthusiast Maria Sanchez. “I spent more time on lighting and ambiance than on some of the technical components, and everyone who uses my simulator comments on how professional it feels, despite costing under $2,000 total.”
Setting Up a Computer System for Your Simulator
The processing power behind your simulator doesn’t need to break the bank. Here are your options:
Minimum System Requirements
For most budget simulator software in 2025:
- Processor: Intel i5/AMD Ryzen 5 (10th gen or newer)
- RAM: 8GB minimum, 16GB recommended
- Graphics: Dedicated GPU with 4GB+ VRAM (NVIDIA GTX 1660 or equivalent)
- Storage: 256GB SSD (for faster loading)
Budget Computer Solutions
Refurbished Gaming PCs ($500-700) Previous-generation gaming computers handle simulator software effectively.
Custom Budget Builds ($600-800) Focus spending on GPU and processor while economizing on other components.
Gaming Laptops ($700-1,000) Provide portability and sufficient power for most simulator software.
Alternative Approaches
Mobile Device Integration Some launch monitors work primarily with tablets or smartphones, eliminating the need for a dedicated computer.
Cloud-Based Options Emerging services run simulation processing in the cloud, reducing local hardware requirements.
“Don’t overspend on your computer,” advises tech consultant and golf enthusiast Derek Williams. “A mid-range gaming PC from 1-2 years ago will handle most simulator software perfectly. I bought a refurbished gaming desktop for $650 that runs my simulator flawlessly.”
Maintenance and Upkeep on a Budget
Protecting your investment doesn’t have to be expensive:
DIY Maintenance Tasks
Regular maintenance extends the life of your components:
- Screen Cleaning: Gentle vacuuming and spot cleaning with mild soap solution
- Launch Monitor Care: Lens/sensor cleaning with appropriate materials
- Mat Brushing: Regular cleaning prevents dirt buildup that accelerates wear
When to Repair vs. Replace
Making financially smart decisions about aging components:
- Hitting Mats: Often repairable with replacement turf pieces
- Projection Systems: Bulb replacement is far cheaper than new projectors
- Netting: Patches and reinforcement can extend life by years
Protecting Your Investment
Simple precautions prevent costly damage:
- Dust Covers: Inexpensive protection for electronics when not in use
- Temperature/Humidity Control: Basic monitoring prevents environment-related damage
- Proper Storage: When components aren’t permanently installed
“Prevention is much cheaper than replacement,” notes long-time simulator owner Paul Garcia. “I’ve had the same basic setup for three years, but with regular maintenance, visitors still think it’s brand new. The key is addressing small issues before they become big problems.”
Real User Budget Breakdowns
Learning from actual builds helps you plan realistically:
Ultra-Budget Build: under $1,500
Steve’s Garage Setup:
- Launch Monitor: Rapsodo MLM2 – $599
- Screen/Projector Alternative: TV mounted on wall with protective cover – $400
- Mat: Used commercial mat – $100
- Net Backup: DIY PVC frame with impact netting – $120
- Computer: Used existing laptop
- Software: Free Rapsodo app and GSPro basic – $250
- Total: $1,469
“I focused on getting accurate data first with a quality launch monitor,” Steve explains. “The visuals aren’t as immersive as a projector setup, but I’m getting the practice benefits at a fraction of the cost.”
Mid-Budget Build: $2,000-3,000
Jennifer’s Convertible Space:
- Launch Monitor: Garmin Approach R10 – $599
- Projector: Refurbished Optoma HD146X – $400
- Impact Screen: DIY with blackout cloth and frame – $250
- Mat: SIGPRO Foam Tiles – $300
- Structure: Retractable ceiling system – $450
- Computer: Budget gaming PC – $700
- Software: E6 Connect Basic – $300/year
- Total: $2,999
“My priority was creating a system that wouldn’t take over our multipurpose room permanently,” Jennifer says. “The retractable design allows me to practice whenever I want while keeping the room functional for other activities.”
Phased Implementation: Starting at $800
Michael’s Expansion Plan:
- Phase 1 ($800): Garmin R10 + basic net + foam mat
- Phase 2 ($700): Added DIY screen and refurbished projector
- Phase 3 ($500): Upgraded to better mat and added side barriers
- Phase 4 ($600): Added gaming PC and premium software
- Total Over 18 Months: $2,600
“By spreading out my purchases, I was able to start practicing right away while saving for better components,” Michael explains. “Each upgrade made a noticeable difference, but the initial setup was still very usable.“
FAQs
Is 12×12 big enough for a golf simulator?
Yep, 12×12 works for most setups! You need about 8-10 feet of width for a full swing (lefties and righties included), 10 feet of depth for ball flight (especially with radar monitors like the R10), and 8-9 feet of height so you don’t smack the ceiling with your driver. A 12×12 room fits that snugly. If it’s tight, skip the projector and use a net with a tablet to the side. Measure your swing space first—better safe than sorry!
Is a home golf simulator worth it?
Totally, if you use it. For under $1,000, you can build something that saves you range fees ($10-$20 a pop) and travel time. Play 50 times a year, and it pays off fast. Plus, it’s fun—think virtual rounds with friends or late-night practice. Not a hardcore golfer? Maybe stick to the local course. But for enthusiasts, it’s a no-brainer.
What kind of PC do I need for a golf simulator?
You don’t need a beast. A mid-range laptop ($500-$800) with an Intel i5 or AMD Ryzen 5, 8GB RAM, and a basic graphics card (like NVIDIA GTX 1650) runs most software—think GSPro or Awesome Golf. Got a tablet or old PC? Free apps like Garmin Golf work fine there, too. Check your launch monitor’s requirements, but don’t overbuy—a $300 refurb can often do the job.
What is the average price for a home golf simulator?
In 2025, it varies. A bare-bones DIY setup (net, mat, budget monitor) lands around $700-$1,000. Add a projector and software, and you’re at $2,000-$3,000. Fancy pre-made packages with premium gear? Think $5,000-$10,000. For budget builds, $1,500 is a sweet spot—affordable yet solid. Your call on how deep you dive!
Wrapping It Up: Your Budget Simulator Journey
Building a golf simulator on a budget in 2025 is entirely possible with the right approach. By focusing on affordable gear, cost-saving tips, and smart shopping, you can create a setup that fits your needs and budget. Whether you’re looking to improve your game or just have fun, a home golf simulator is a fantastic investment.
Ready to get started? Visit The Golf Hype for more tips, reviews, and guides to help you build the ultimate golf simulator setup. Happy swinging!


